How to Hatch Pheasant Eggs: 10 Expert Tips for Incubating Pheasant Eggs Successfully
Whether you’re hatching pheasant eggs for the first time or looking to improve your hatch rates, success starts long before the first chick breaks through its shell. Proper egg handling, a reliable pheasant egg incubator, and close attention to temperature, humidity, ventilation, and egg turning all play an important role in producing healthy chicks.
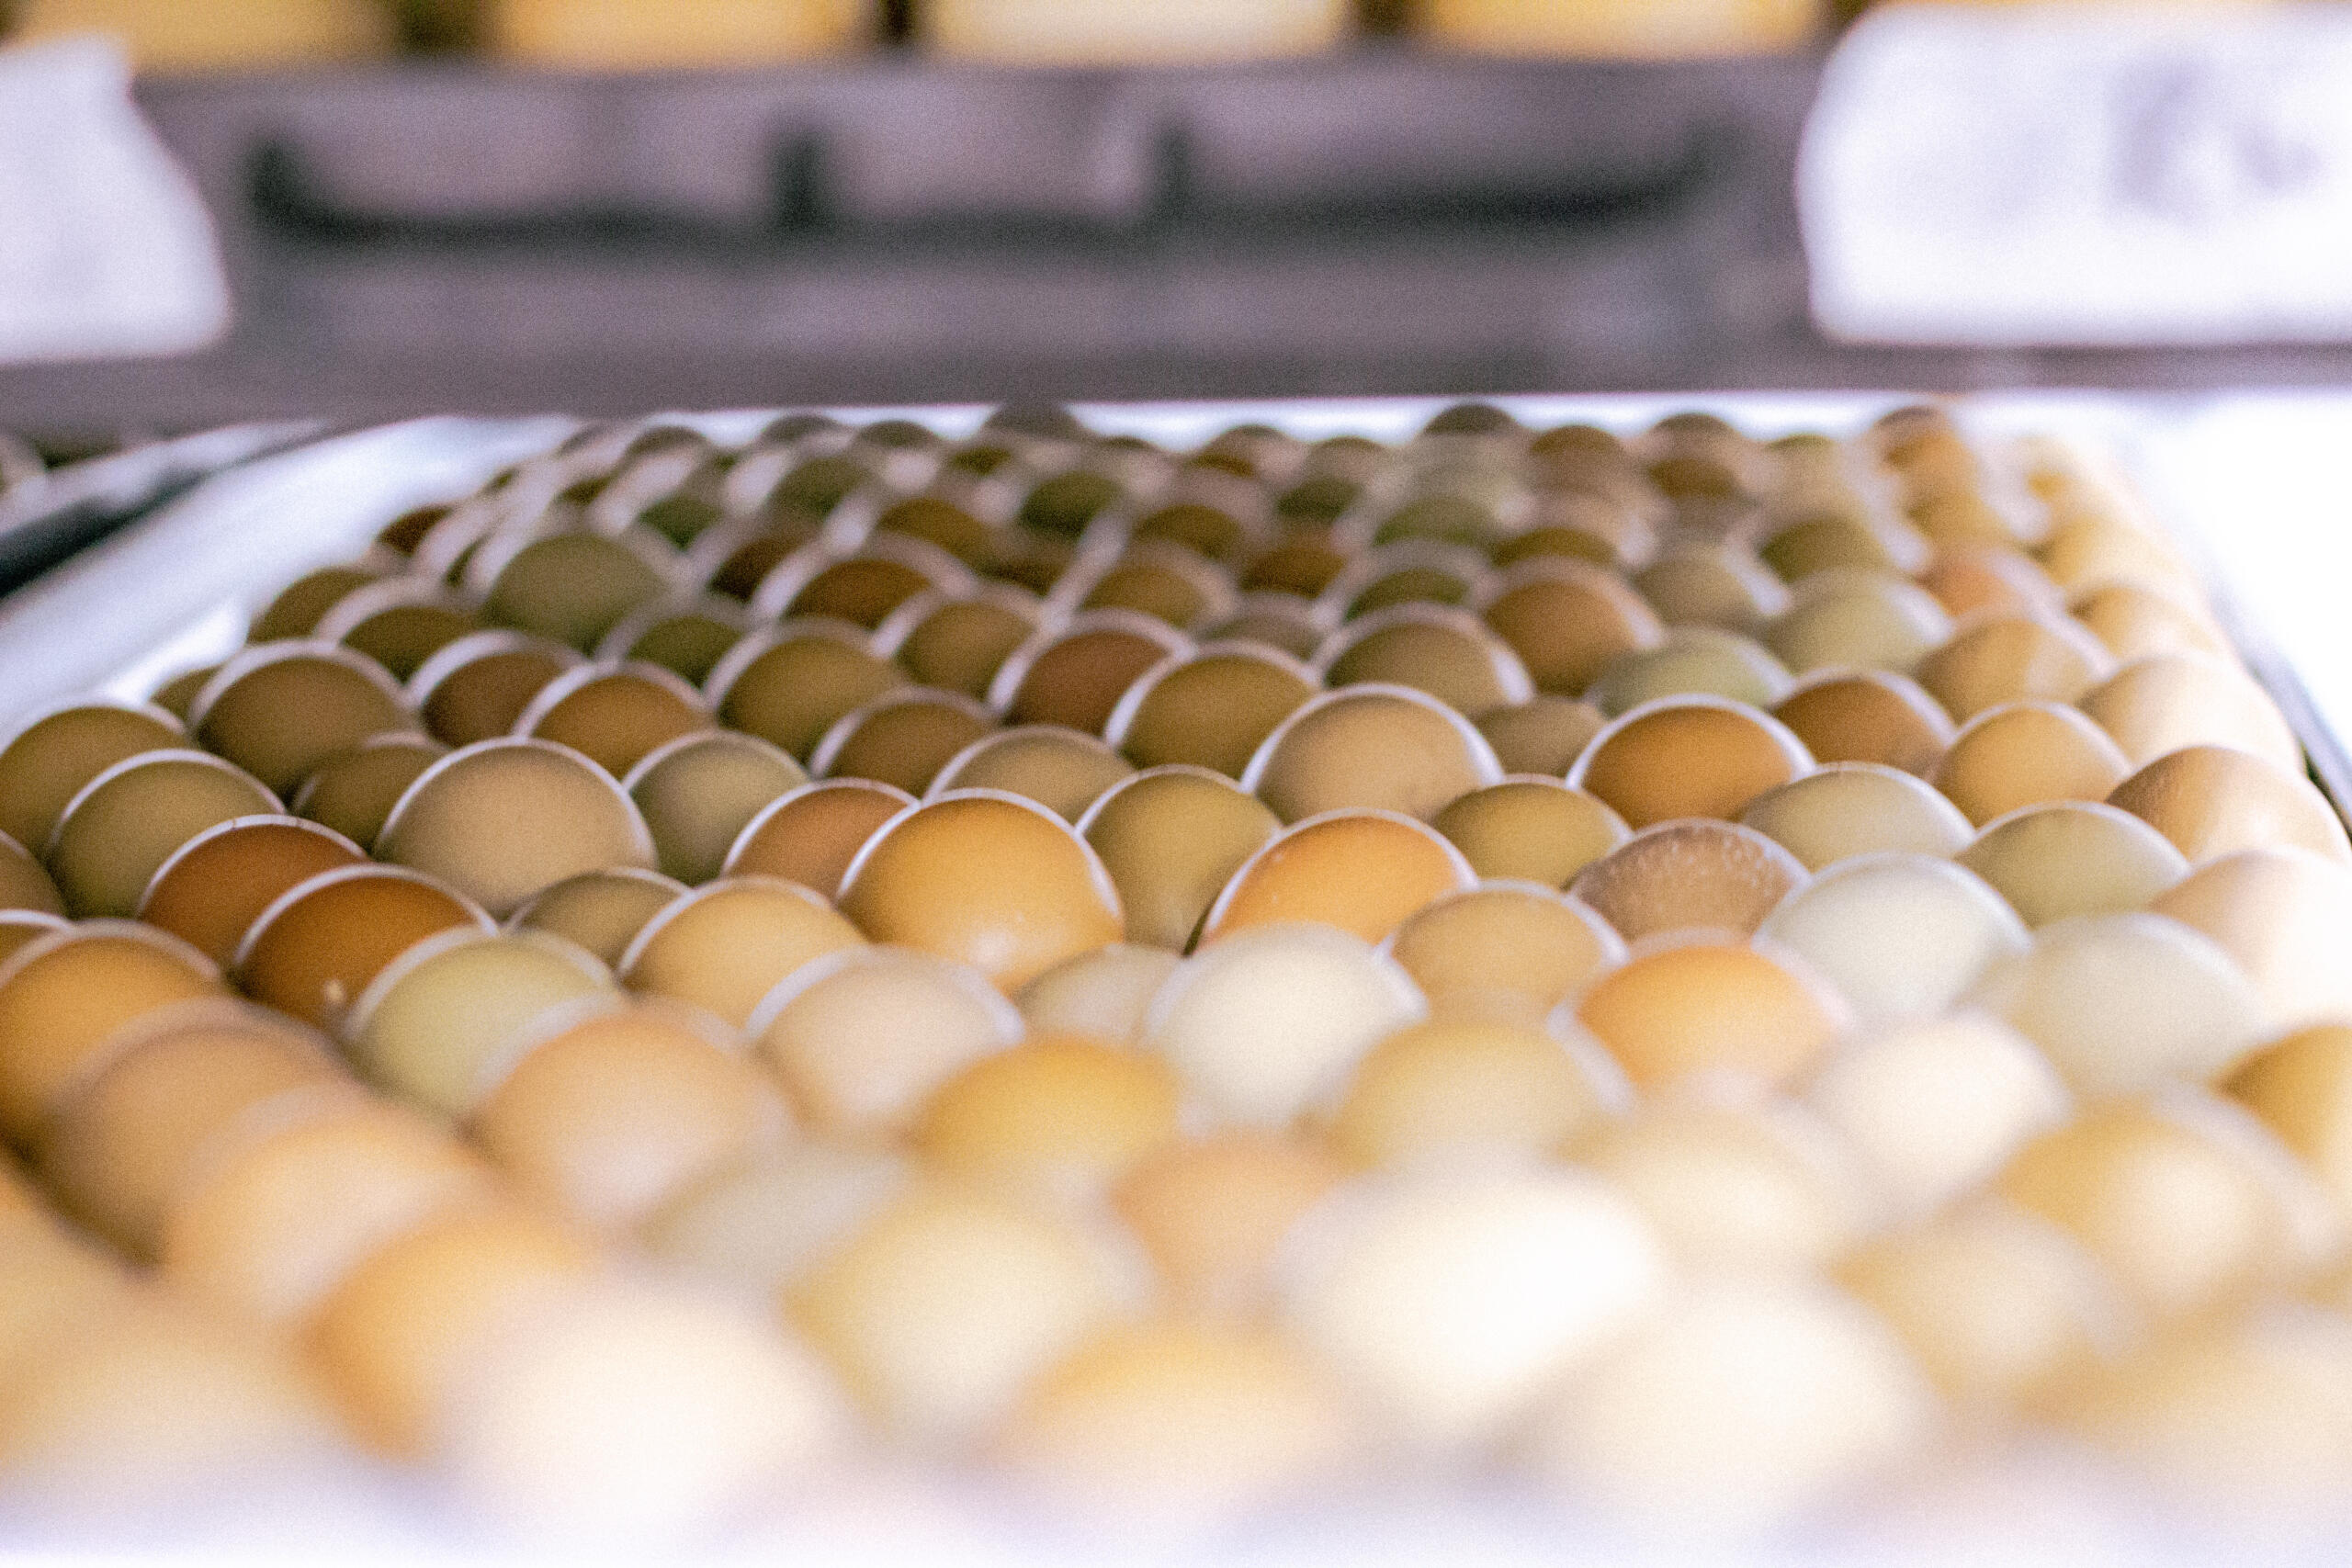
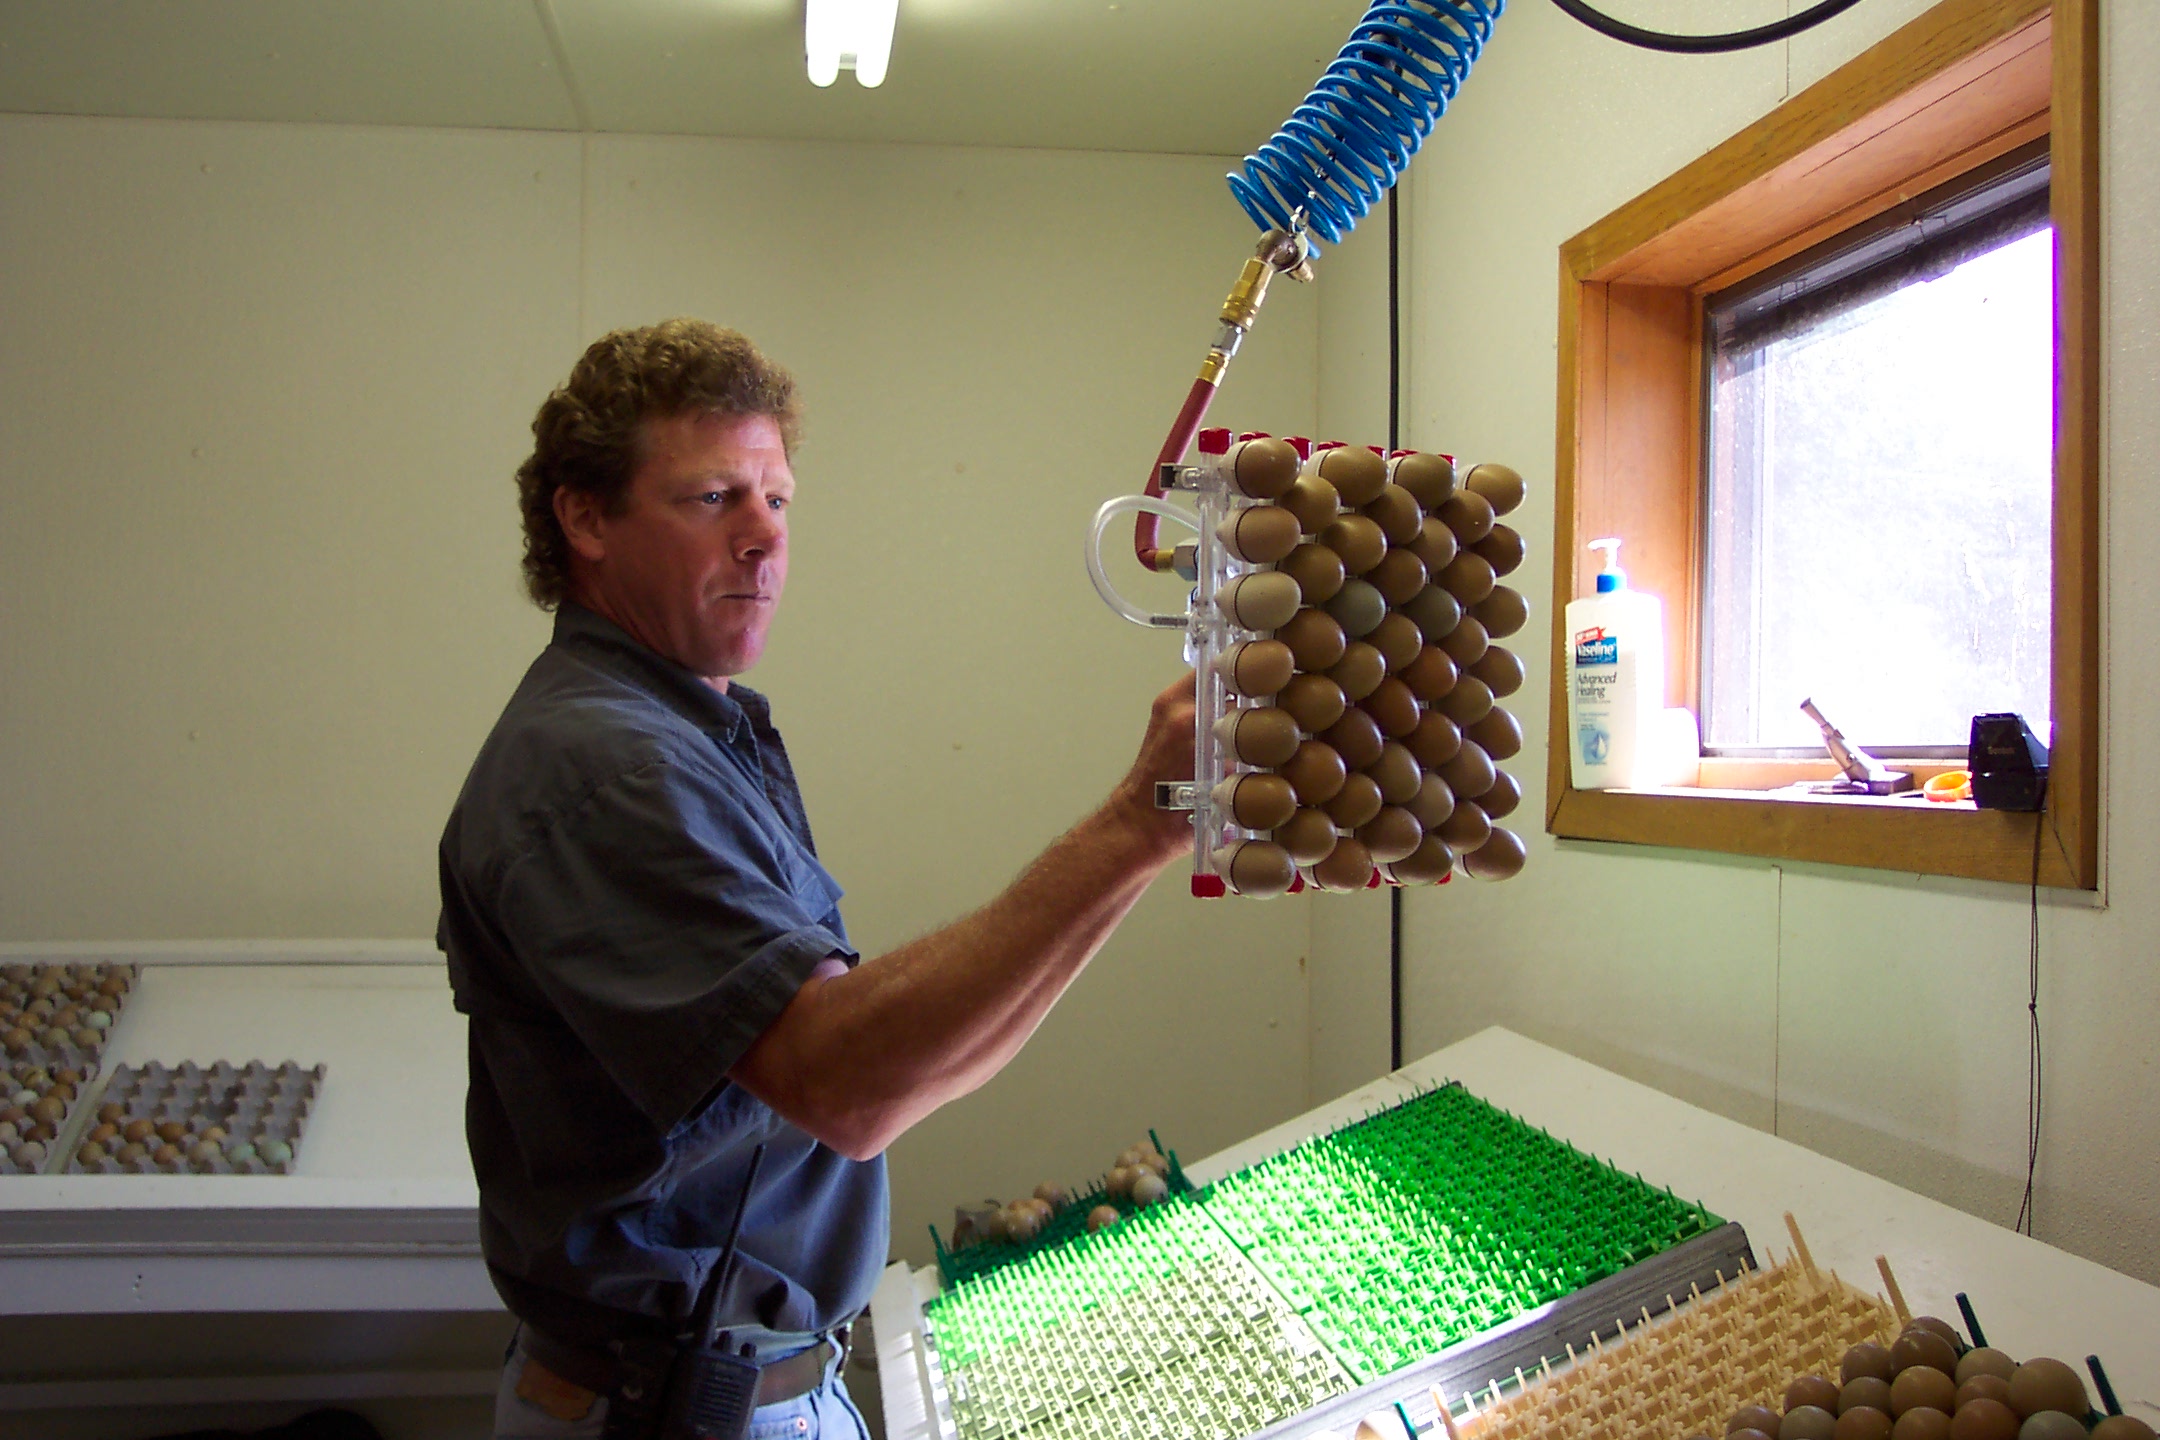
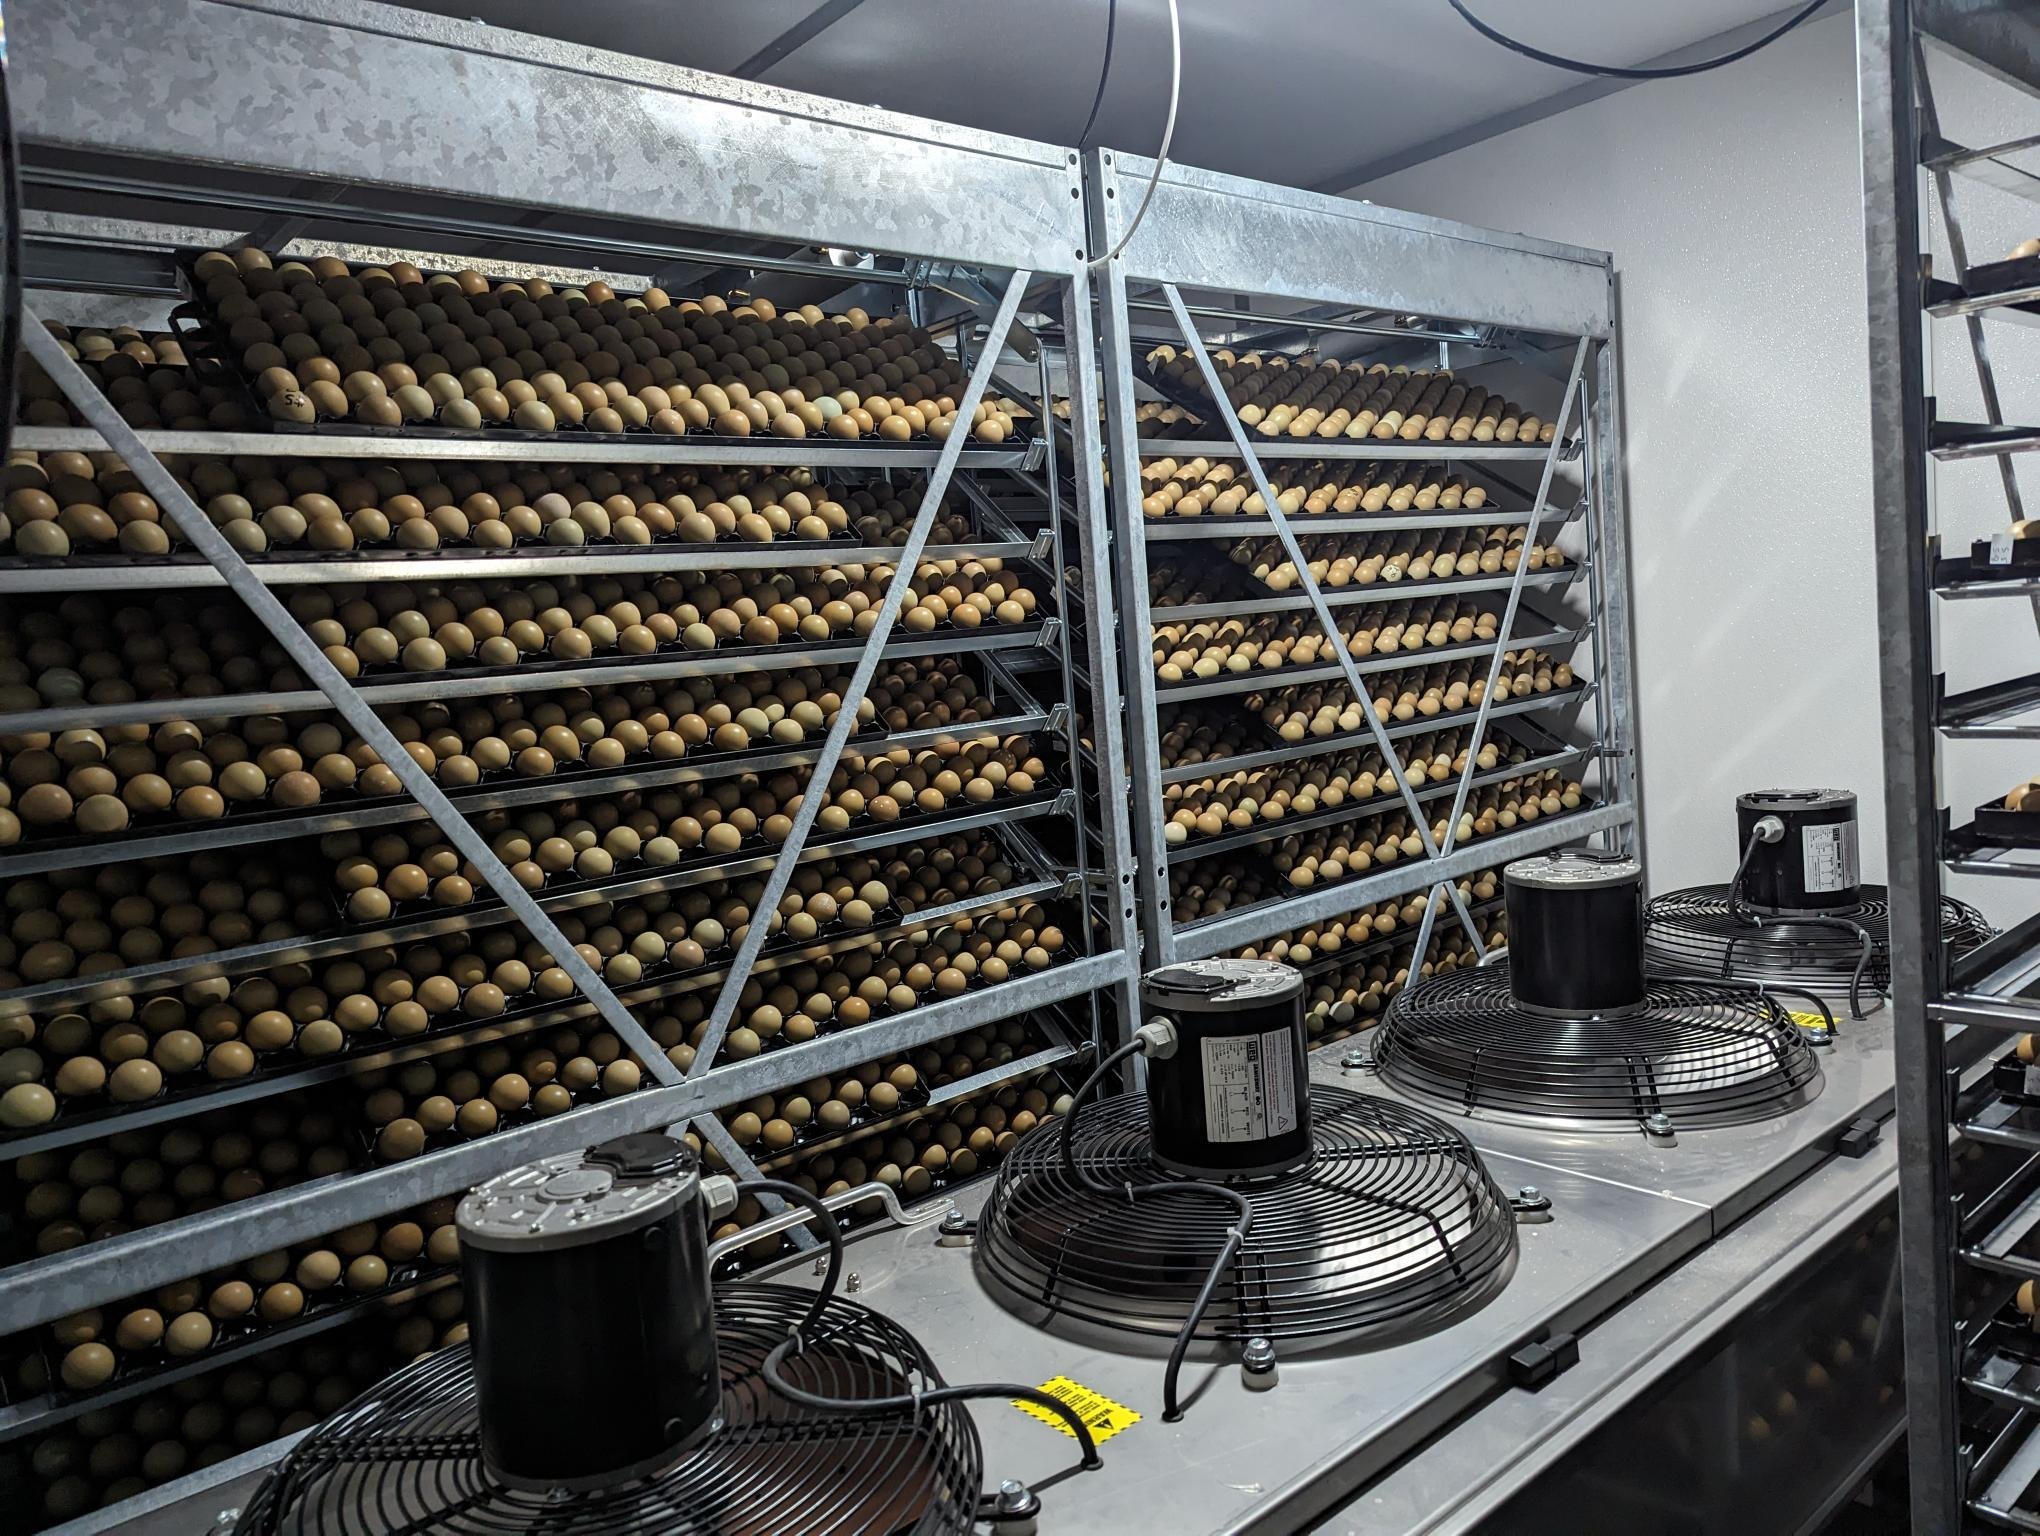
At MacFarlane Pheasants, we’ve been hatching pheasant eggs for generations. Every year, our hatchery incubates thousands of pheasant eggs that grow into healthy birds for hunting preserves, conservation projects, and backyard enthusiasts across North America. Over the years, we’ve learned that even small adjustments can make a big difference in hatch success.
In this guide, we’ll share practical tips to help you successfully hatch pheasant eggs while avoiding some of the most common mistakes beginners make.
Looking for exact incubation temperatures, humidity levels, turning schedules, and day-by-day instructions? Be sure to download our free Pheasant Egg Incubation Guide, where we provide a complete incubation calendar and detailed recommendations based on each stage of development.
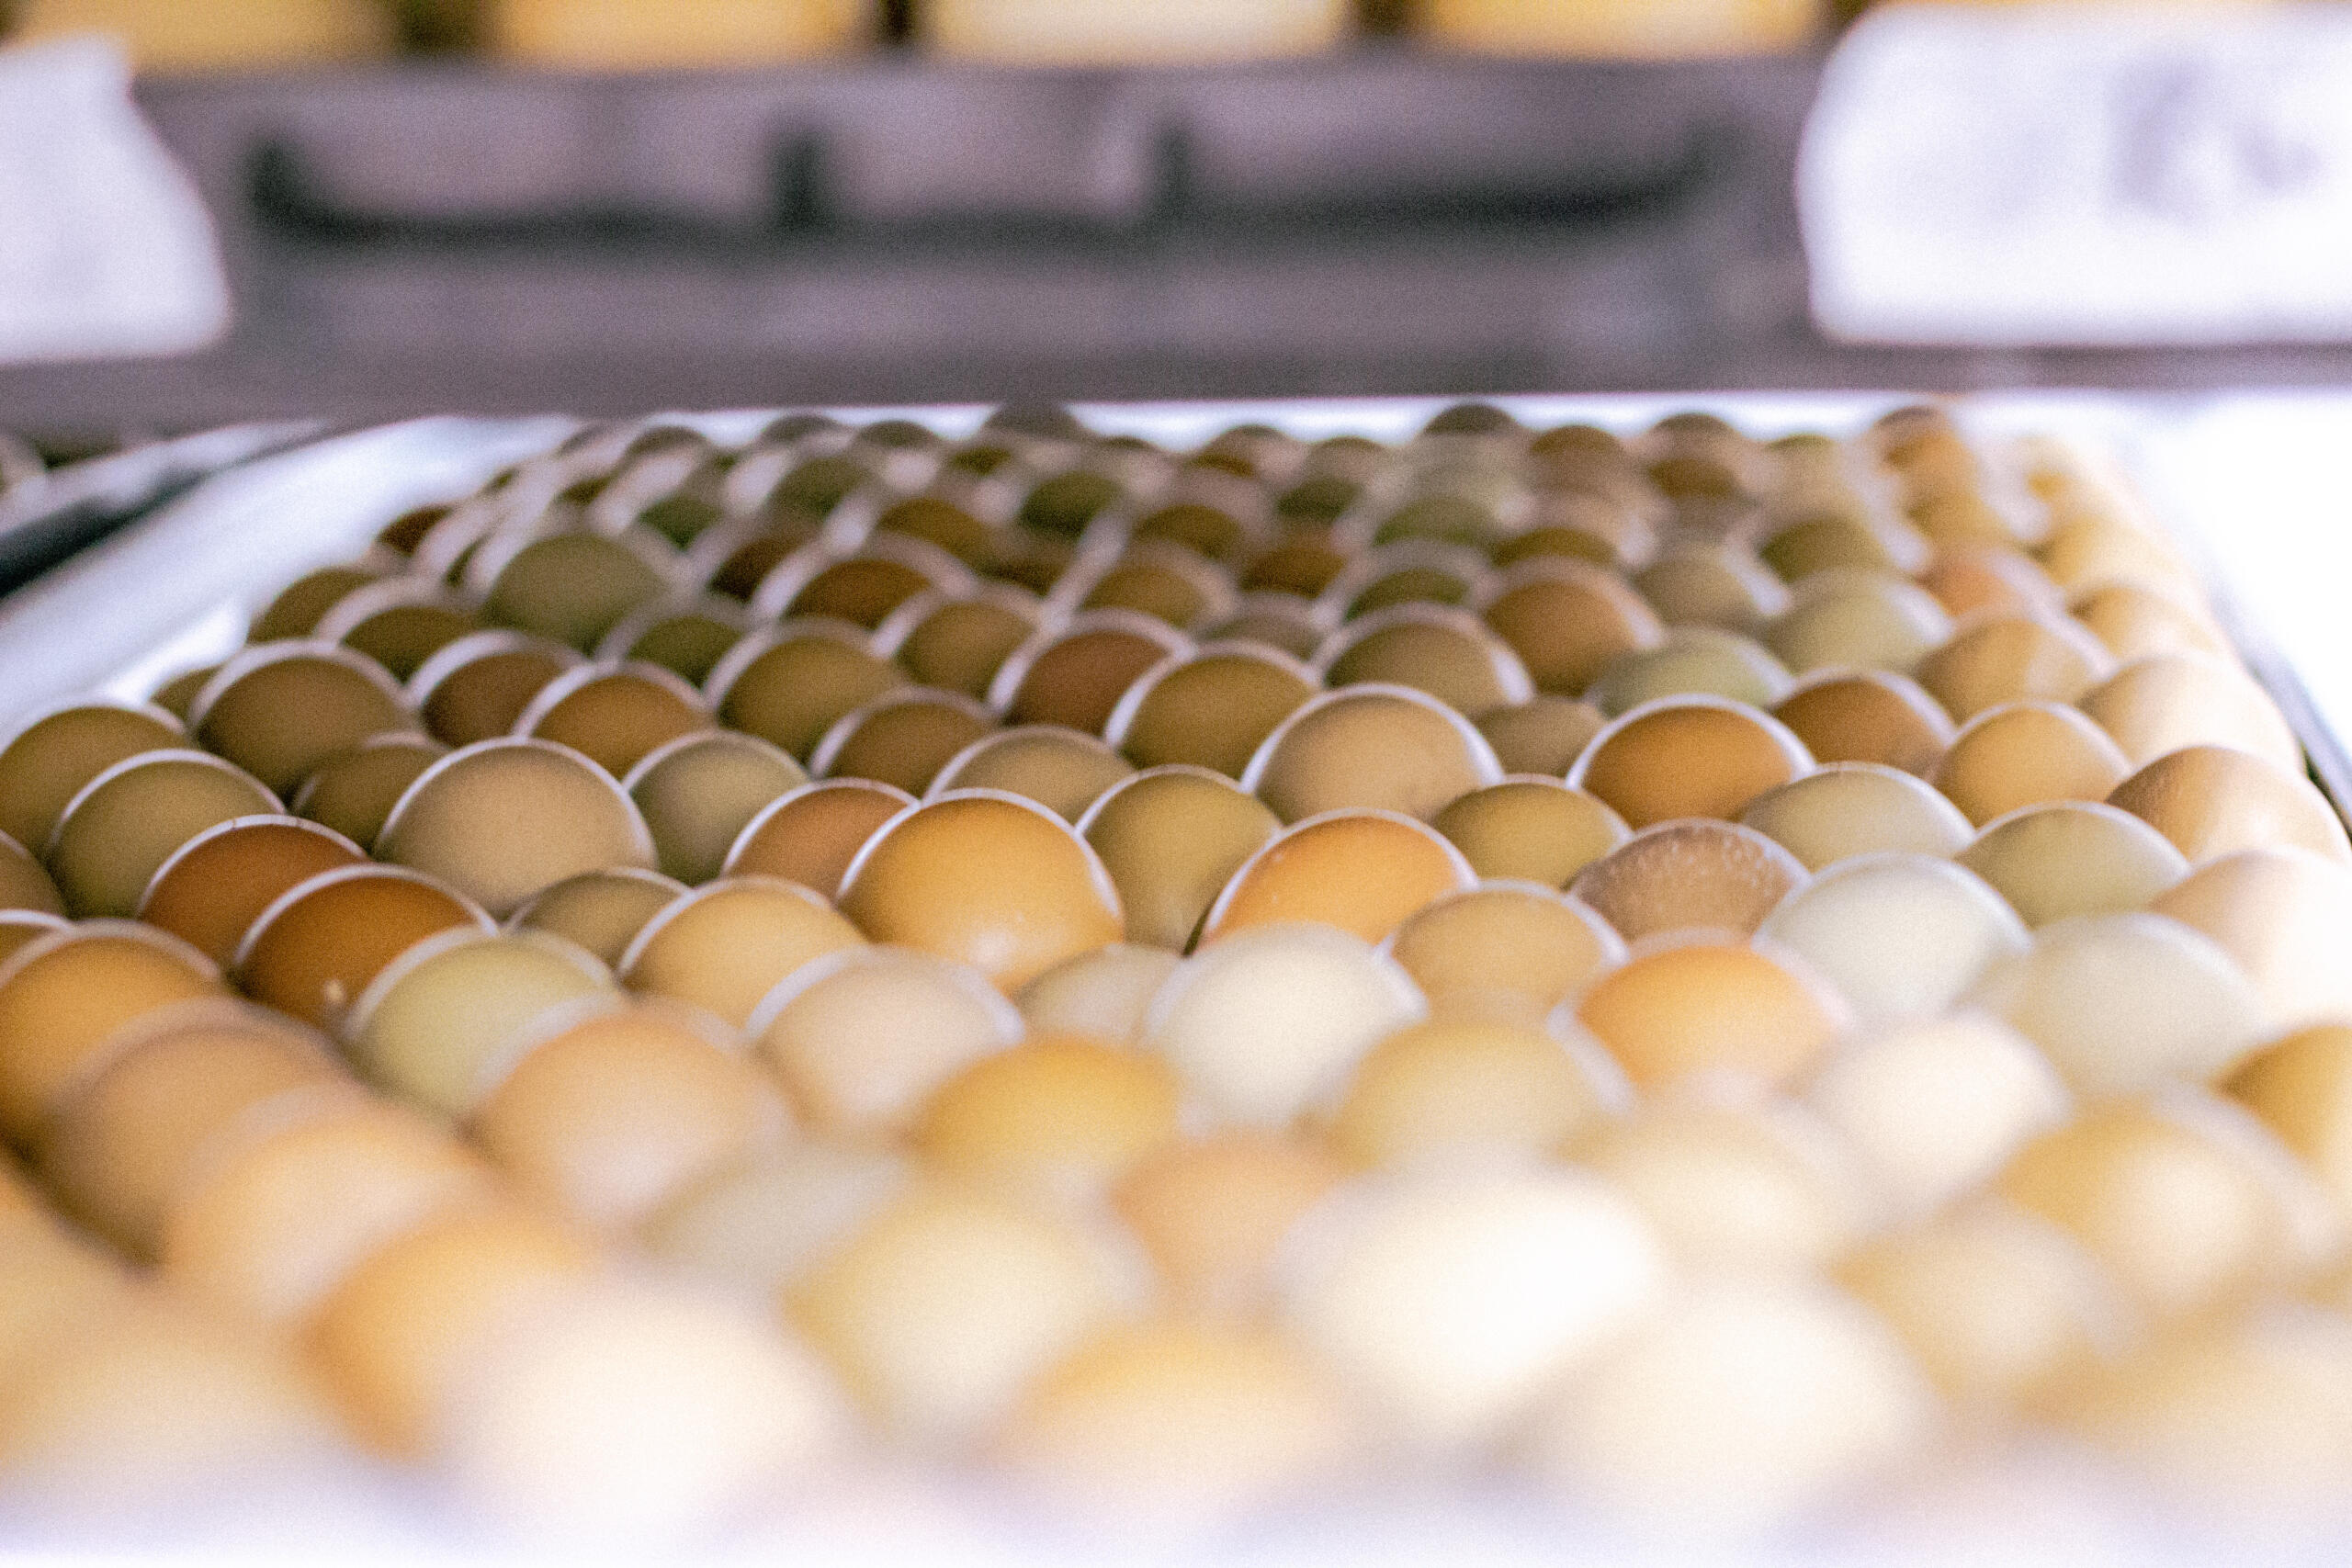
How Long Do Pheasant Eggs Take to Hatch?
One of the most common questions we hear is, “How long do pheasant eggs take to hatch?”
Under proper incubation conditions, most Ring-necked Pheasant eggs hatch in approximately 23 to 25 days. While individual hatch times can vary slightly, healthy chicks typically begin pipping and emerging during this window.
The incubation period is influenced by several factors, including:
- Consistent incubator temperature
- Proper humidity levels
- Adequate ventilation
- Egg quality and fertility
- Proper turning throughout incubation
Maintaining stable conditions throughout the incubation cycle gives embryos the best opportunity to develop normally.
Can You Hatch Pheasant Eggs at Home?
Absolutely. Whether you’re raising gamebirds for a hunting preserve, homestead, educational project, or simply enjoying the experience of watching chicks hatch, modern incubators make hatching pheasant eggs more accessible than ever.
Small tabletop incubators are widely available through farm supply stores and online retailers.
While incubators simplify the process, successful pheasant egg incubation still requires careful monitoring. Temperature fluctuations, incorrect humidity, poor ventilation, or improper egg handling can significantly reduce hatch rates.
Fortunately, following a few proven practices can dramatically improve your chances of success.
Before You Start Incubating Pheasant Eggs
Before placing any eggs into your pheasant egg incubator, spend a little time preparing your equipment.
A successful hatch begins with consistency.
Before adding eggs, make sure you:
- Clean and disinfect the incubator.
- Verify temperature using a reliable thermometer, even if your incubator has a digital display.
- Confirm humidity is stable.
- Test that fans and airflow systems are working properly.
- Allow the incubator to reach stable operating conditions before introducing eggs.
At MacFarlane Pheasants, we never place eggs into an incubator until we’ve confirmed that temperature and airflow are consistent.
Taking this extra step helps eliminate unnecessary stress on developing embryos from the very beginning.
10 Tips for Hatching Pheasant Eggs Successfully
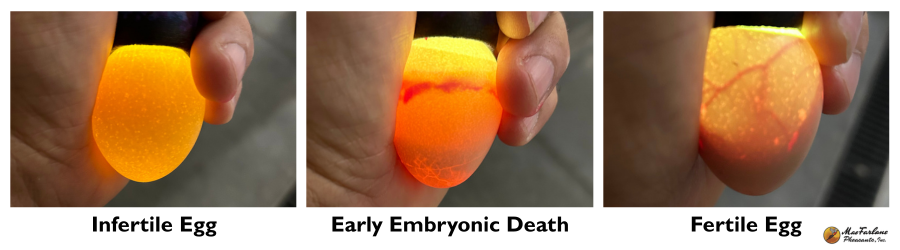
Common Pheasant Egg Incubation Mistakes
Even experienced hatchers occasionally encounter problems. Fortunately, many issues can be avoided with careful preparation and consistent management.
- Temperature Fluctuations. Large swings in incubator temperature are one of the most common causes of poor hatch rates.
- Incorrect Humidity. Humidity that’s too high or too low can affect embryo development throughout the incubation period. Rather than guessing, monitor humidity regularly and make gradual adjustments when necessary.
- Forgetting to Turn Eggs. Regular turning is essential during most of the incubation cycle. Missing an occasional turning usually isn’t catastrophic, but consistently failing to rotate eggs can reduce hatch rates by allowing embryos to stick to the shell membranes.
- Opening the Incubator Too Often. Every time you open the incubator, temperature and humidity drop.
- Starting With Poor-Quality Eggs. No amount of perfect incubation can compensate for eggs that were infertile, damaged, improperly stored, or mishandled before incubation.
Download Our Free Pheasant Egg Incubation Guide
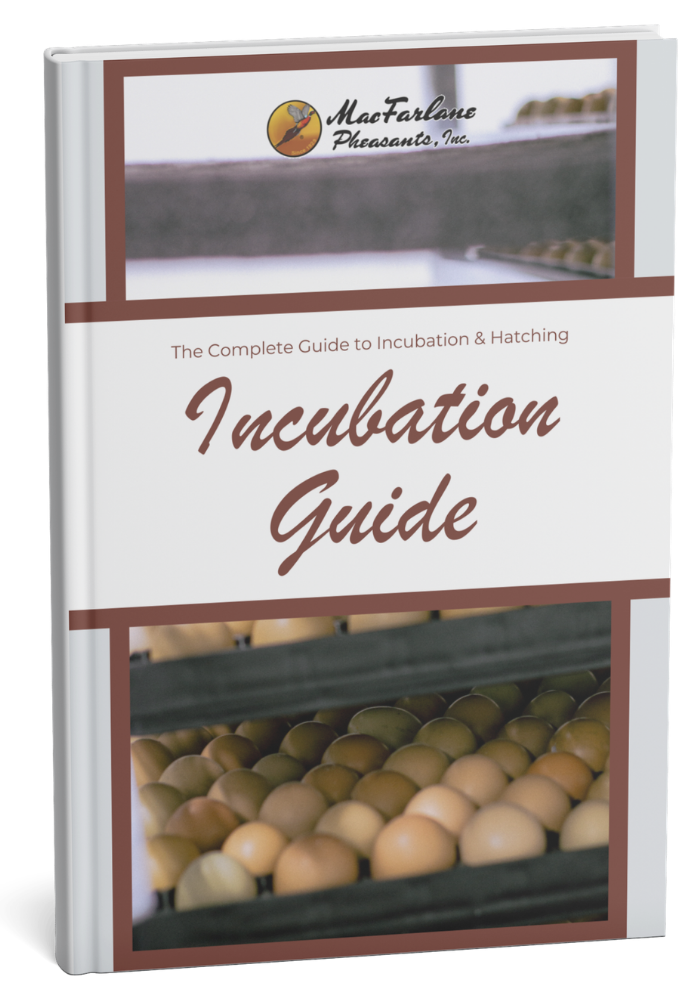 Successfully hatching pheasant eggs requires more than simply placing eggs into an incubator. Every stage of development has different needs, and knowing when to make adjustments can significantly improve your hatch rates.
That’s why we’ve created a free Pheasant Egg Incubation Guide packed with the detailed information we use every day in our hatchery.
Inside the guide, you’ll find:
- Exact incubation temperatures throughout the hatch cycle
- Recommended humidity levels for each stage of development
- A complete day-by-day incubation calendar
- Egg turning schedules
- Candling timelines
- Hatch day preparation tips
- Brooder setup recommendations for newly hatched chicks
Whether you’re learning how to hatch pheasant eggs for the first time or looking to improve your results with Ring-necked pheasant eggs, this guide provides the detailed instructions needed for a successful hatch.
 What Do Pheasants Eat? A Complete Guide to Feeding Pheasants
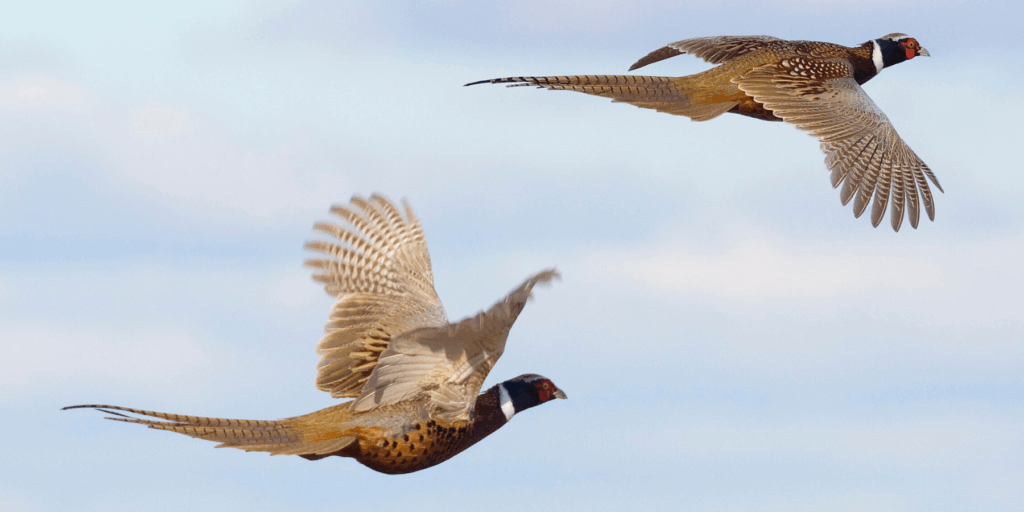 Can I Buy Pheasants to Release?
Related Posts
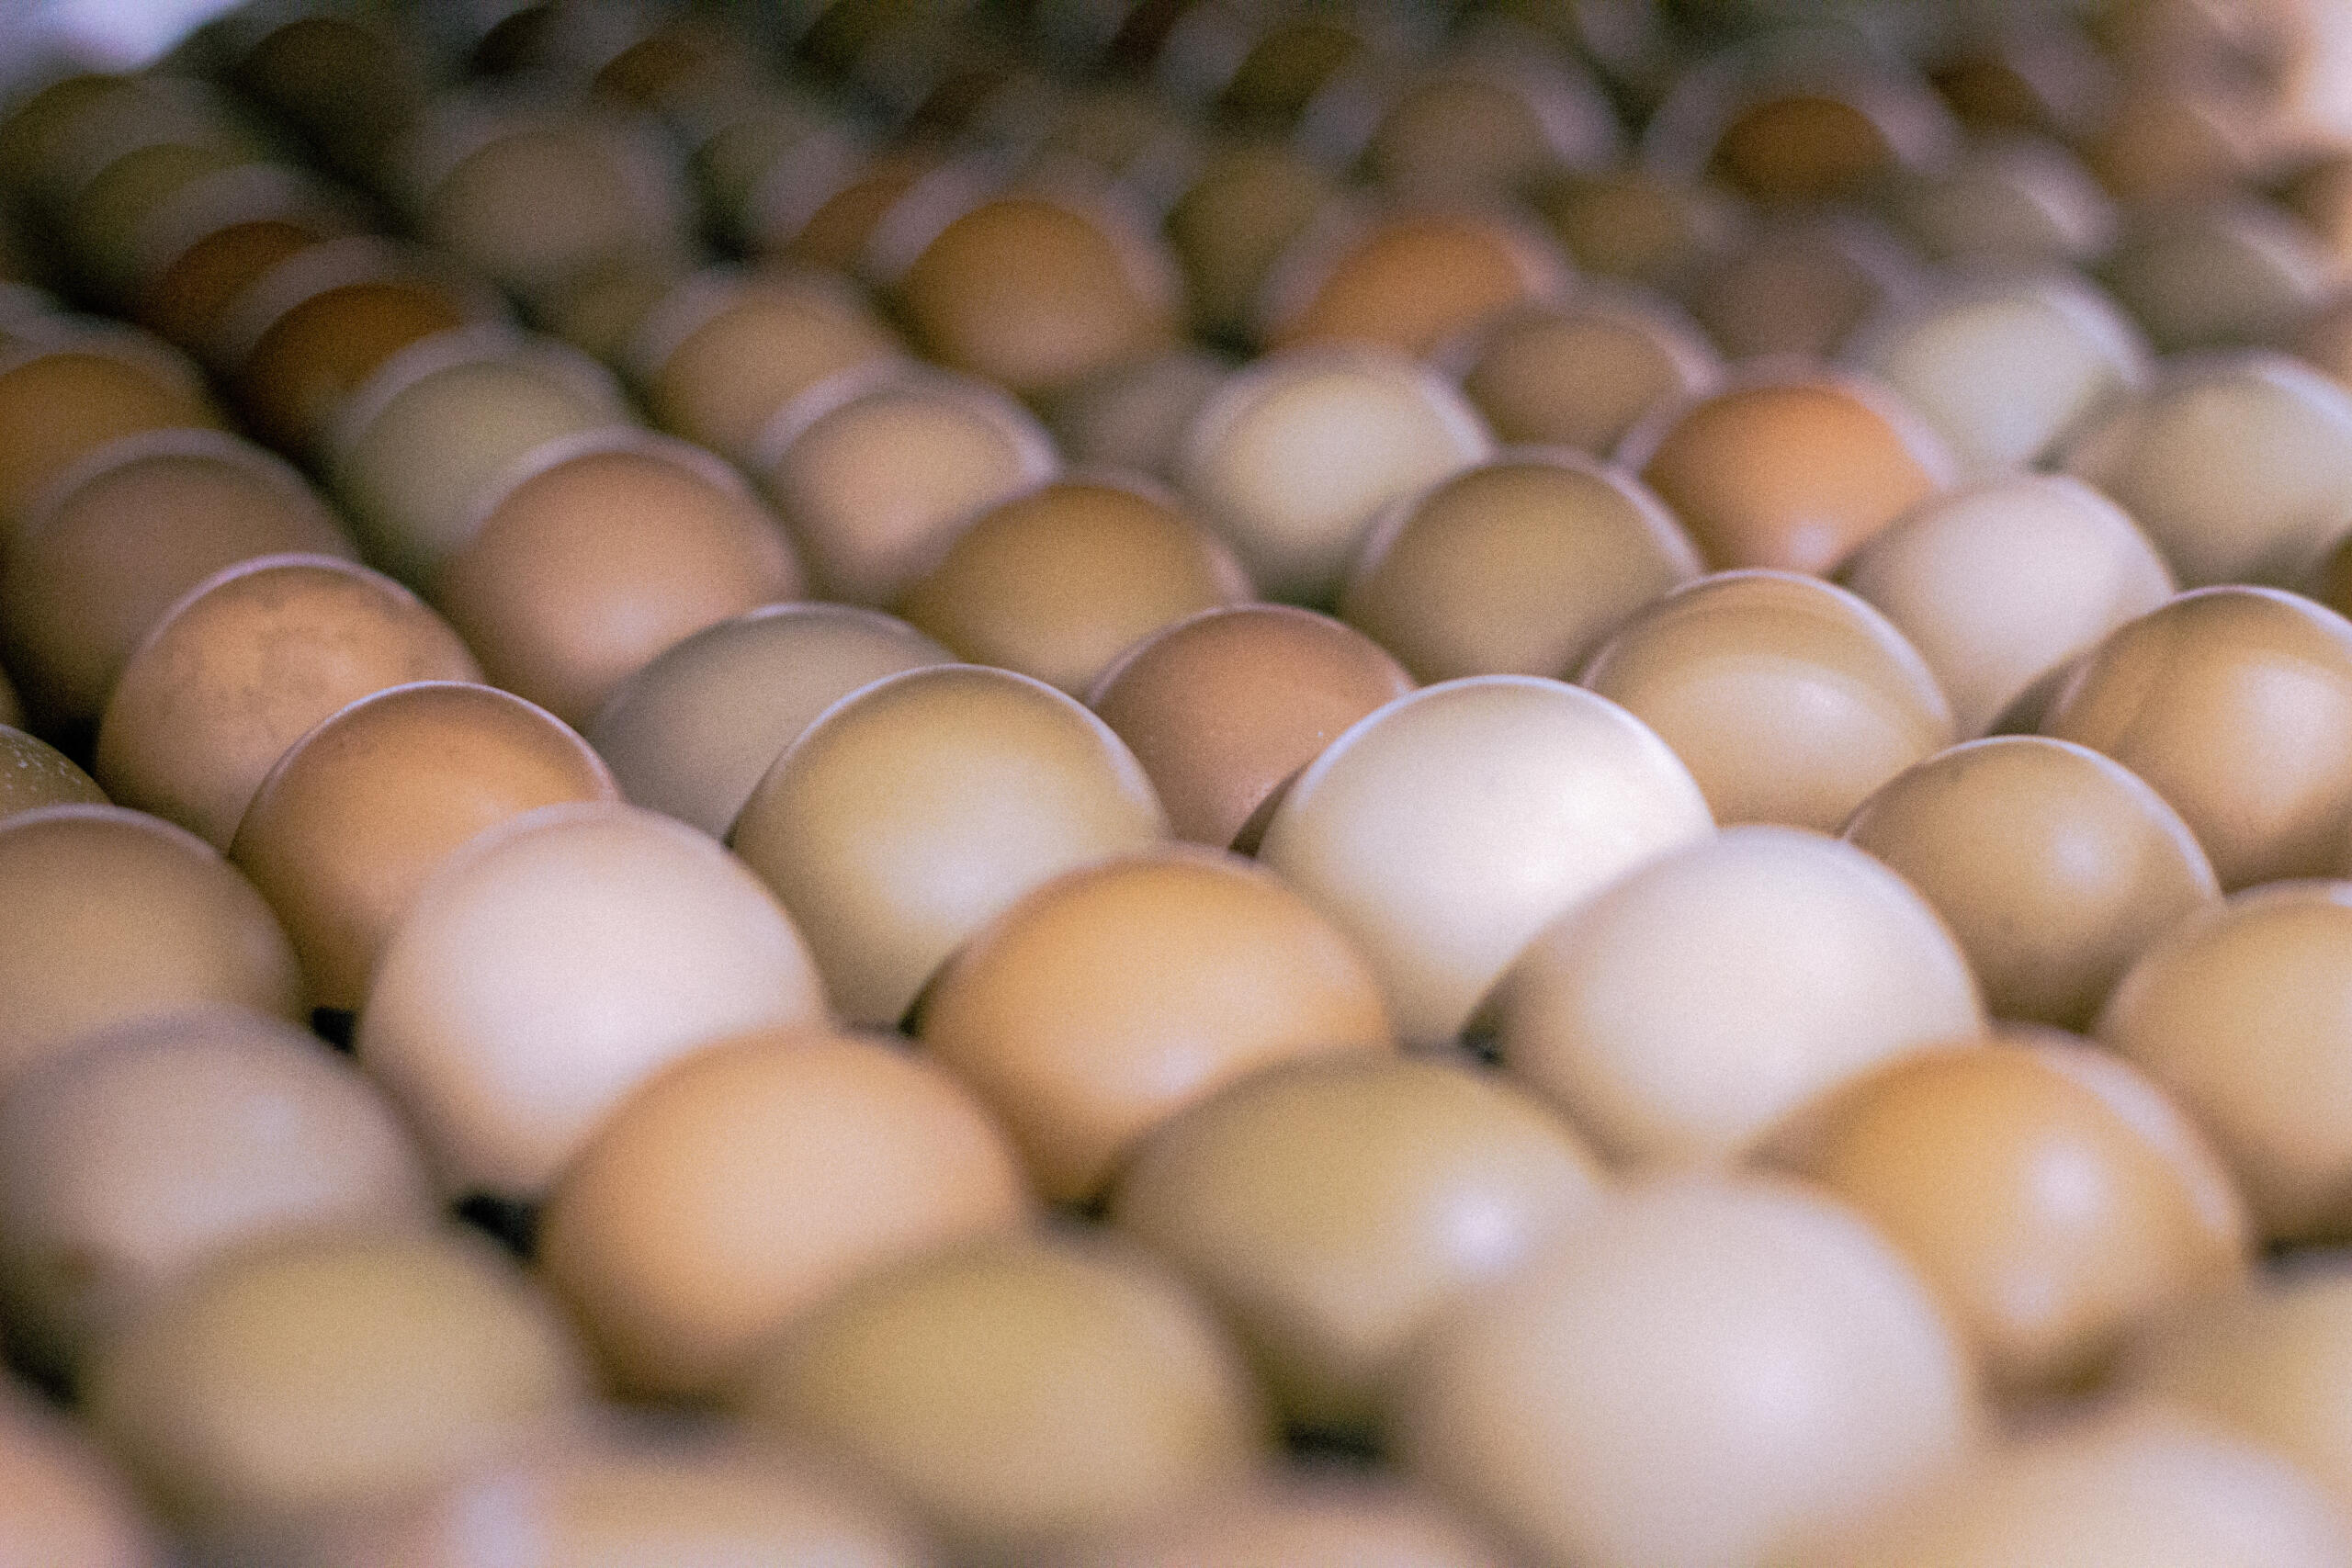
Incubation of Pheasant Eggs
Read Post
Choosing the Best Bedding for Pheasants and Gamebirds
Read Post
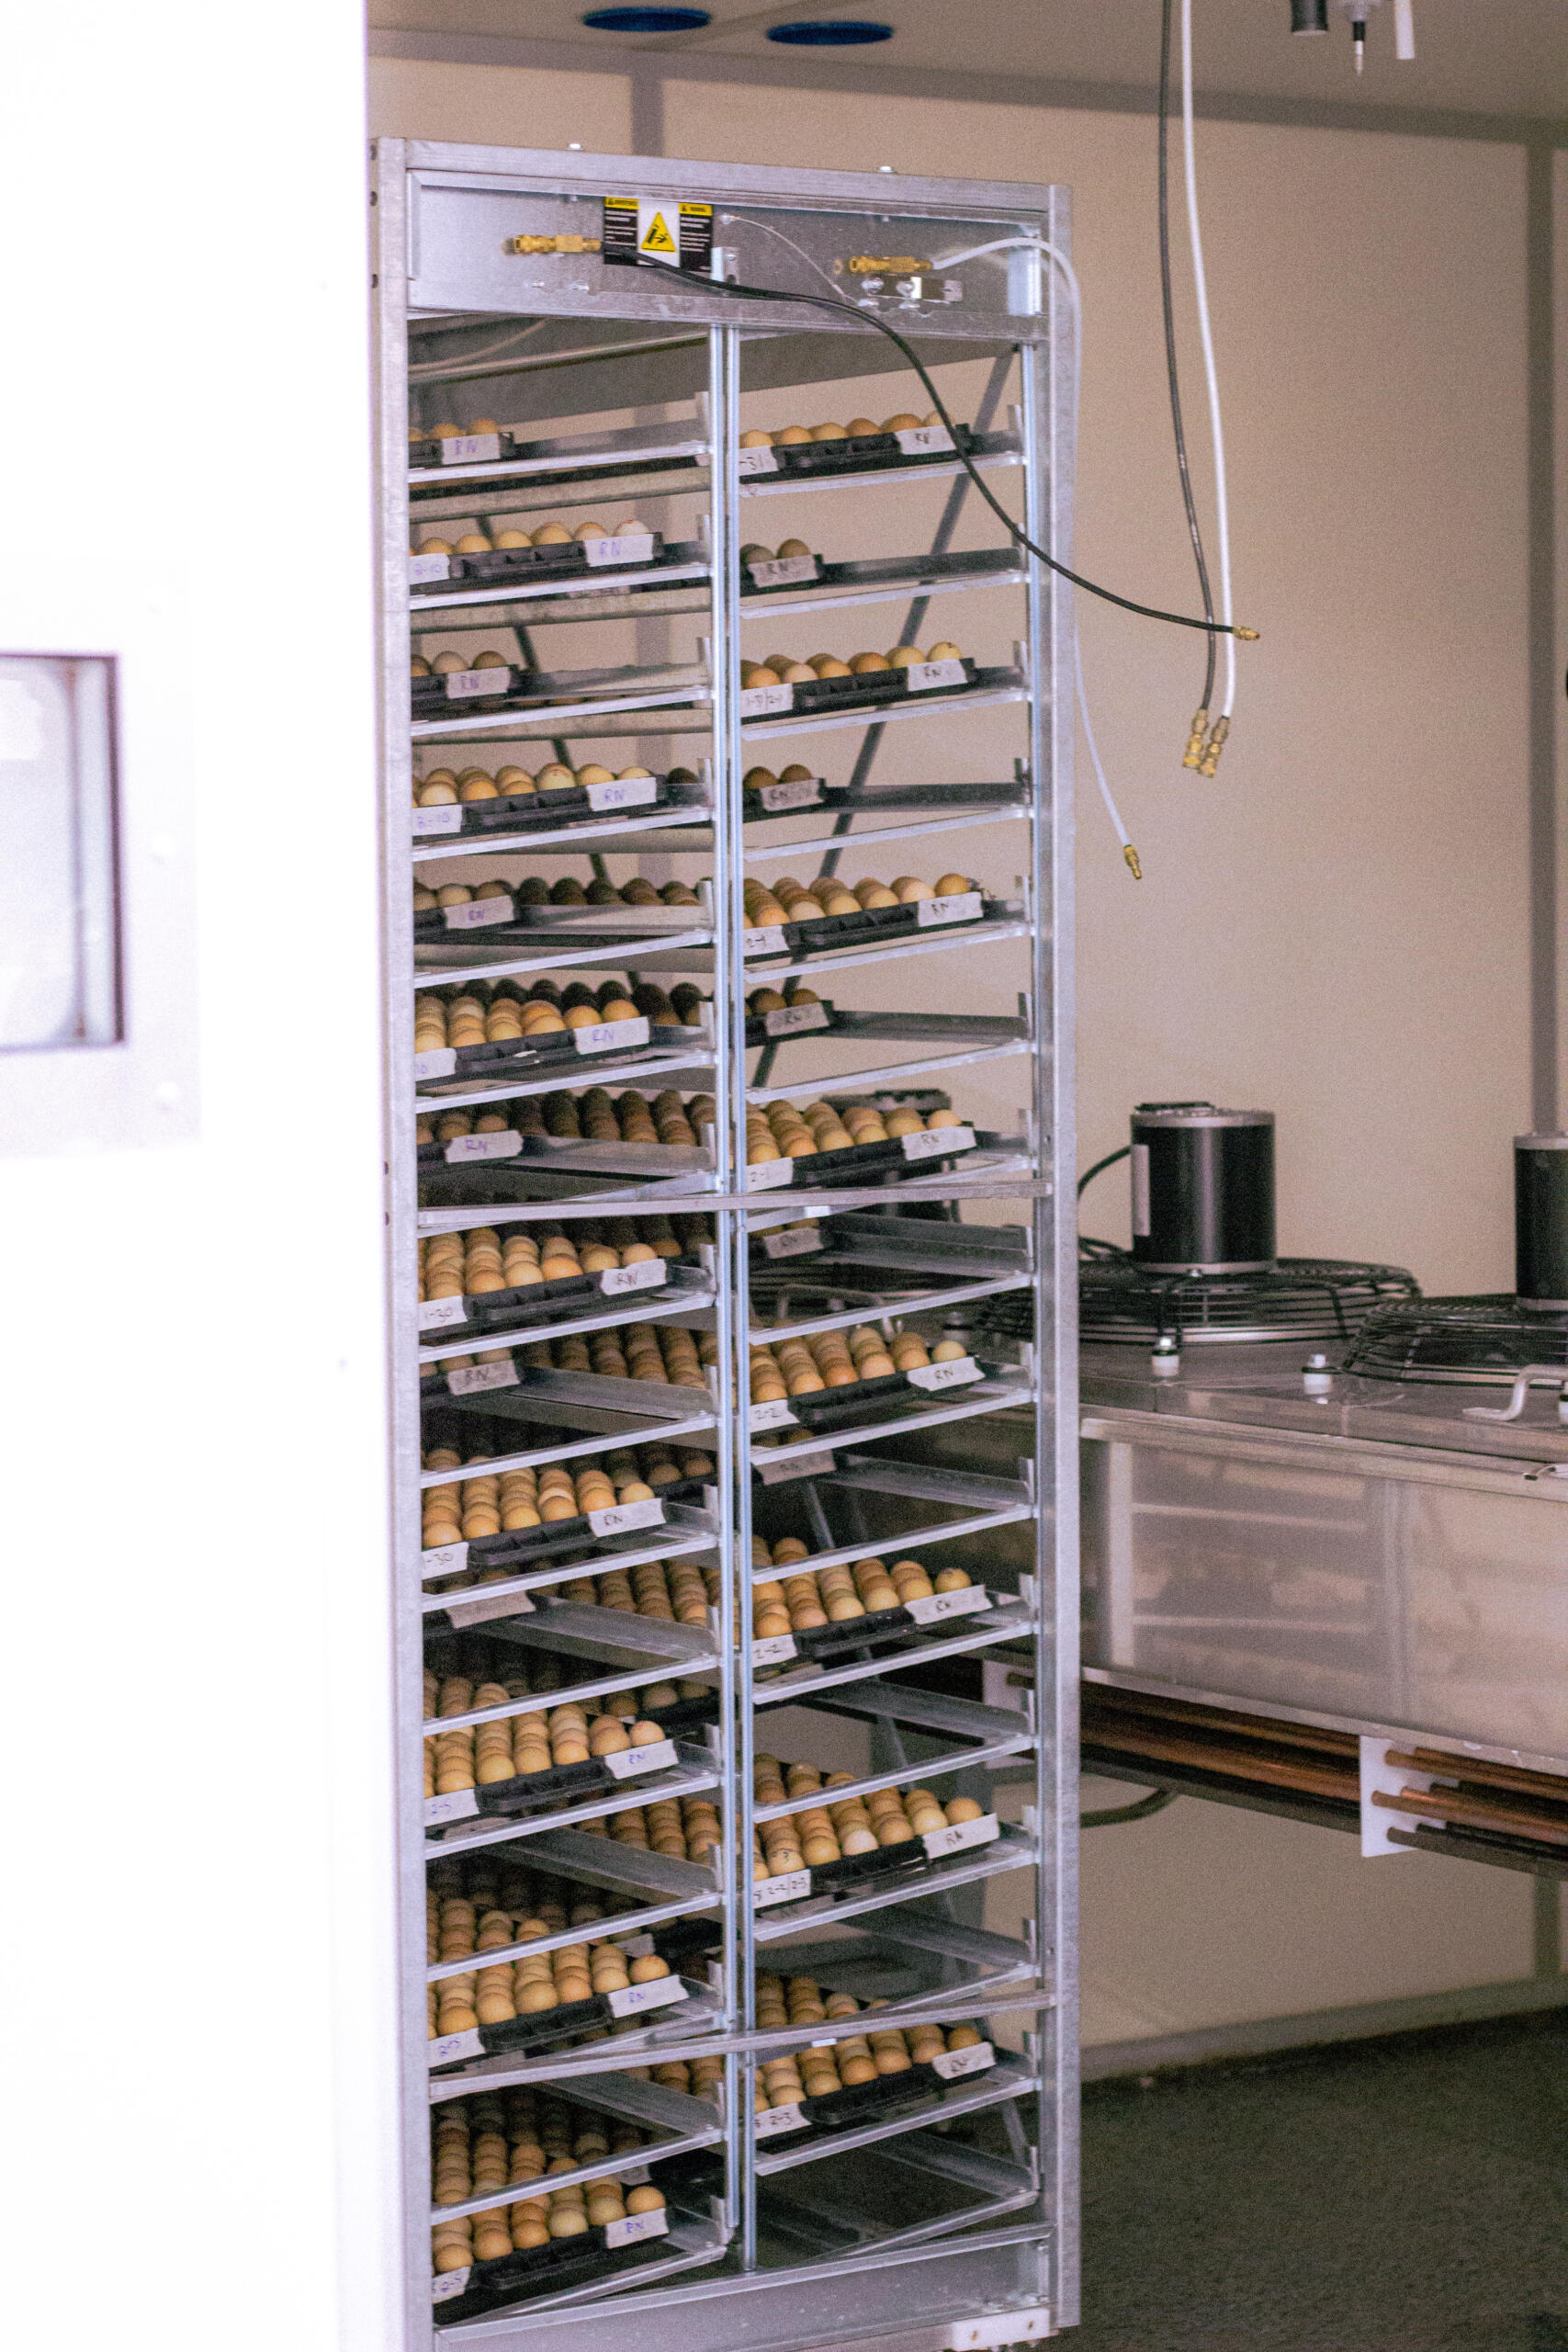
Download The Complete Guide to Incubation
Read Post
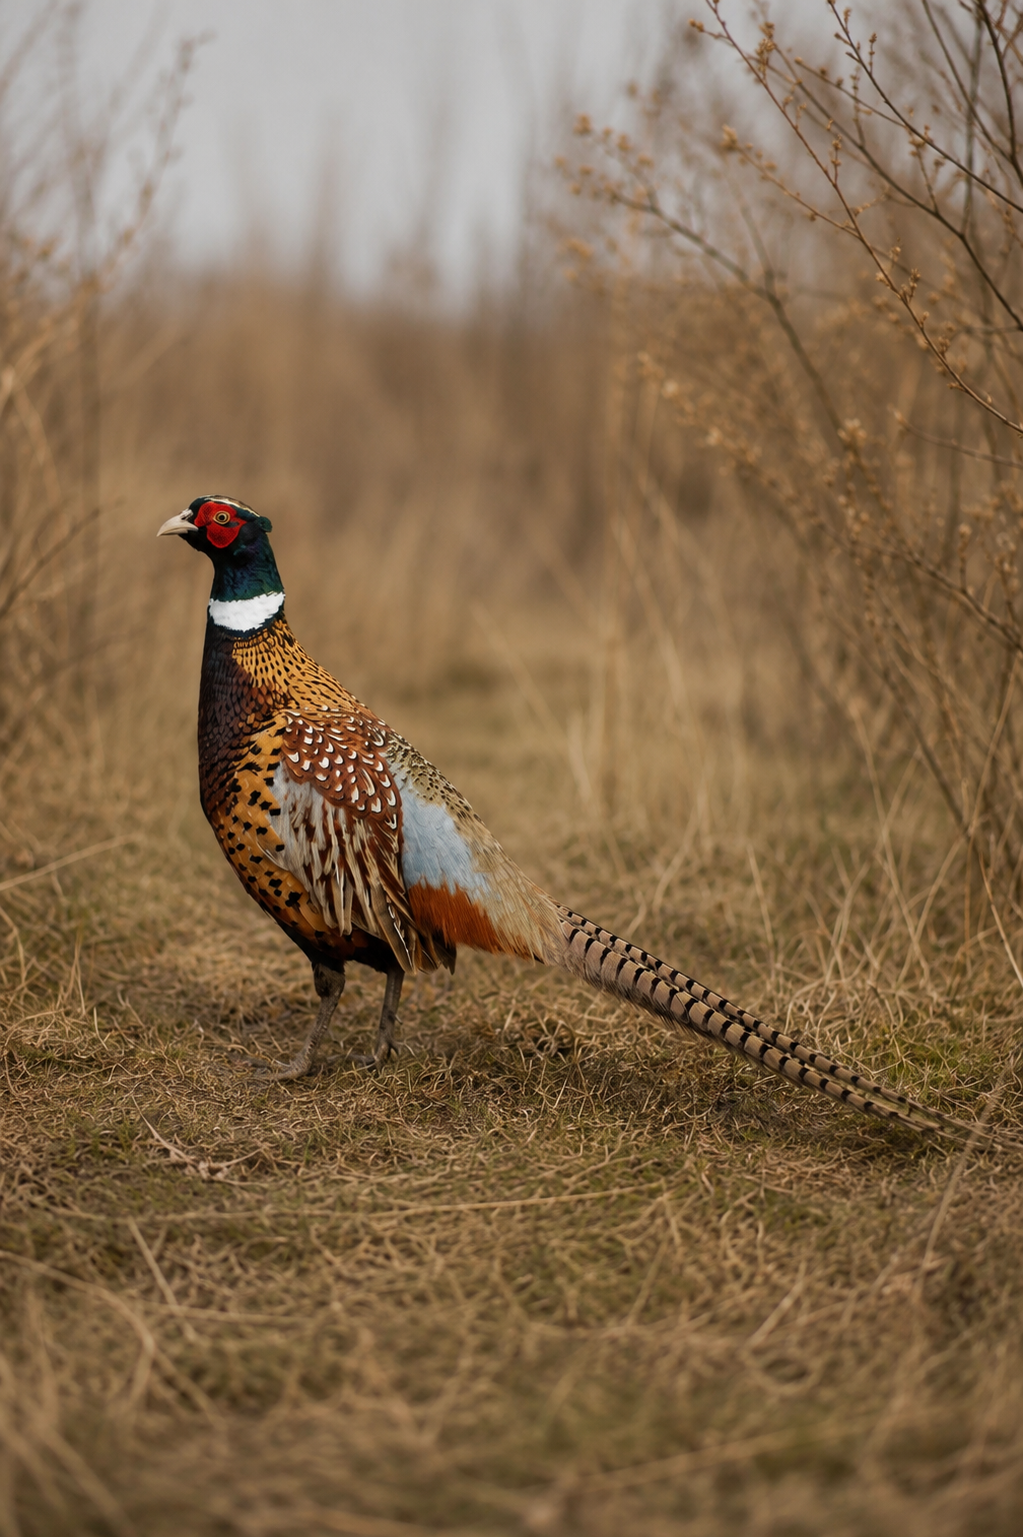
How Much Do Mature Pheasants Cost?
Read Post
Incubating and Hatching Pheasant Eggs
Read Post
CO2’s Effect on the Incubation Process
Read Post
The Circle of Pheasant Farming Sanitation
Read Post
Humidity in the Incubator
Read Post
Take Advantage of These Free Resources
As the biggest gamebird farm in the United States, we want to share our experience with you. Download our free resources below and get started.